Showing posts with label Button Projects. Show all posts

Saturday, September 1, 2012

Button Tree Canvas Art


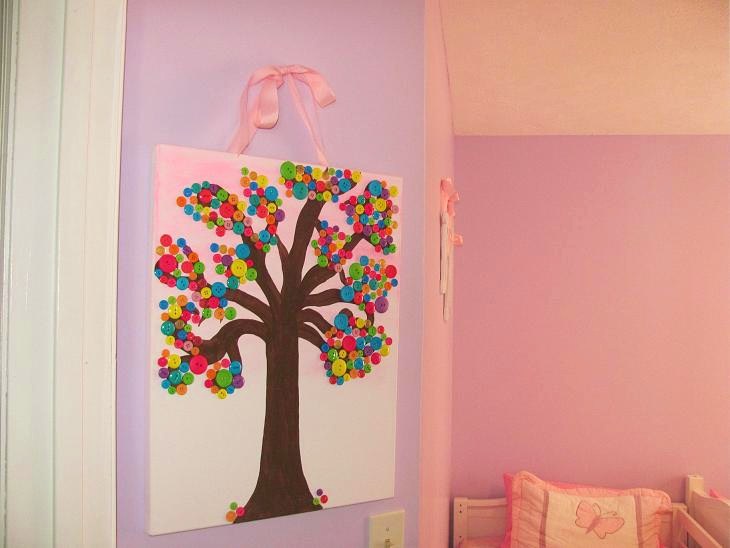
OK... I love the Button Tree! I did this cute little button tree for my girls' room. I wanted it bright and just cheerful for them. It reminds me of what a candy tree would look like... if their were candy trees!

This is also a fun project for kids. My girls liked getting to help place the buttons on!

You will Need:
* Canvas (any size)
* Paint
* Buttons
* Craft Glue
* Paint brushes
* Pencil

Paint your canvas in the shade you want. To get the faded look just start at the top and keep blending it in. You can paint the whole thing or not paint it at all. It's up to you.

Take a pencil and draw your tree. It doesn't have to be perfect. The buttons will cover up any mistakes you may make. Drawing is not a strong point of mine, so don't look to close to my tree.

Paint your tree

Play around with your buttons, find a place you like them and glue them down. If you would like to use any buttons that have the "hook" on the back, just take a craft knife or box cutter (something with a sharp point) and make a SMALL slit where you want it. Glue the back while sticking the "hook" thru the slit you made.

When gluing your buttons down, use a craft Glue like E6000 or Craft Art. I wouldn't hot glue them. The hot glue doesn't hold well to the canvas and pops off easily. If you do dots on the back of your buttons, use a very small amount (you don't need a lot). I like to take a small flat brush and brush the glue on.

You can add hardware to hang it or ribbon. I used ribbon since it was going in the girls' room.

Here are some pictures of it hanging in their room. It was kinda hard to get a good picture. Their room has an odd angle when you first walk in.

I hope you enjoyed the button tree! They are super fun to make and very easy! Their are so many things you can do with them too. You can make them bright and cheerful or a little more sophisticated.

Happy Crafting!

Wednesday, May 16, 2012

Button Bracelet


For a Tutorial on the Button Necklace, click HERE

You will Need:
* Chain
* Jump Rings
* Closure
* Buttons

Take a piece of your chain to fit your wrist. I used 6 1/2" for mine. Using your smaller buttons, attach 2 buttons onto a jump ring and attach the jump ring on your chain. Keep doing this until you get as many buttons you want on your bracelet. I used 26 buttons total for my bracelet.

Attach a Jump Ring and closure to each end of your chain.

That's it! Aren't they simple and cute!

Button Necklace


For a tutorial on the Button Bracelet, click HERE

You Will Need:
* Buttons of different sizes
* wire cutters
* Needle nose pliers
* 28" of 24 gauge wire
* Jump Rings
* Chain
* Toggle Clasp or the adjustable (this usually comes with your chain)
* Jewelry & Metal Glue

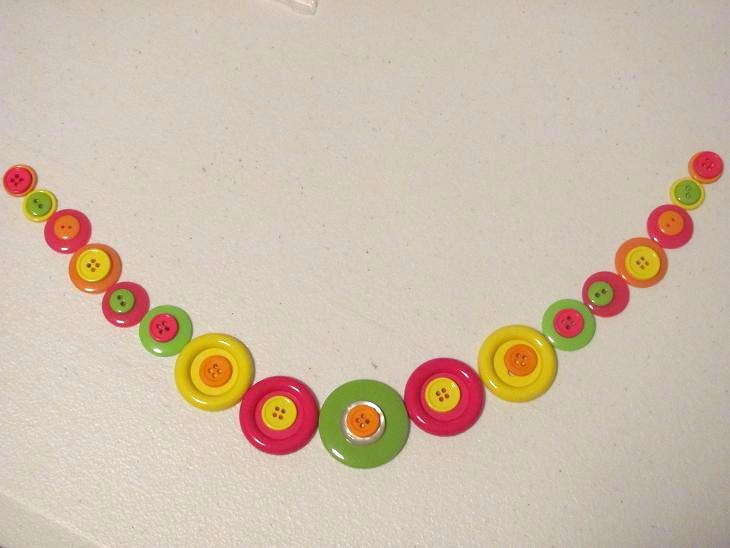
Lay out your buttons how you want them to look on your necklace. I did end up adding more to mine the farther along I got. It's really just a preference on how far you want the buttons to be around the necklace and how large the buttons are you are using. I used 43 buttons total of different sizes.

Cut 28" of your wire (you won't need to use all of it, just enough to suite your amount of buttons), fold in in half to find the center and start with your center button. Thread the wire through the button/ buttons starting at the back, threading to the front and through the back again. Continue until you are satisfied with your amount of buttons. I go from left to right putting buttons on opposed to doing one side at a time.


Once you get the amount of buttons on to your satisfaction cut your wire to were only about 1 1/2" is sticking up on each side. Take you needle nose pliers and roll the wire down.


Add a jump ring to each side you rolled down also attaching a 4 1/2" piece of chain to each side.

Attach a jump ring to your ends along with your closure. You could use a toggle set or an adjustable one. I used the adjustable.

Take your craft glue and glue down the wire you rolled down earlier. I like to give it overnight to sit.