


For a tutorial on the Button Bracelet, click HERE
You Will Need:
* Buttons of different sizes
* wire cutters
* Needle nose pliers
* 28" of 24 gauge wire
* Jump Rings
* Chain
* Toggle Clasp or the adjustable (this usually comes with your chain)
* Jewelry & Metal Glue
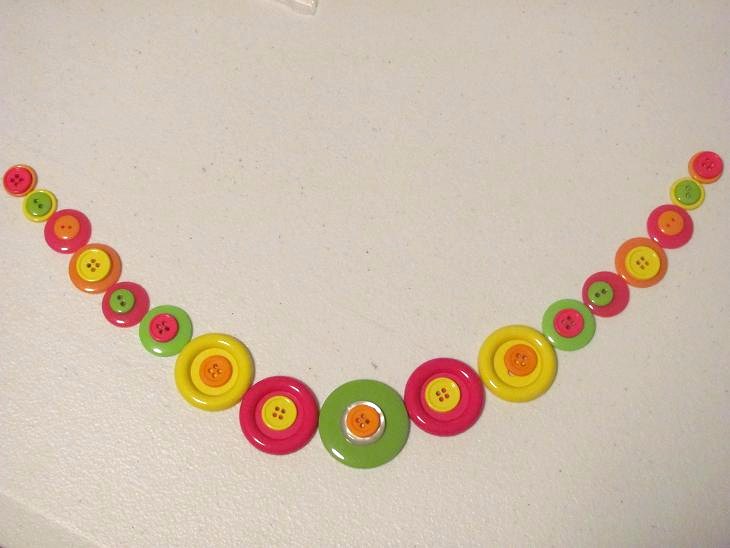
Lay out your buttons how you want them to look on your necklace. I did end up adding more to mine the farther along I got. It's really just a preference on how far you want the buttons to be around the necklace and how large the buttons are you are using. I used 43 buttons total of different sizes.
Cut 28" of your wire (you won't need to use all of it, just enough to suite your amount of buttons), fold in in half to find the center and start with your center button. Thread the wire through the button/ buttons starting at the back, threading to the front and through the back again. Continue until you are satisfied with your amount of buttons. I go from left to right putting buttons on opposed to doing one side at a time.


Once you get the amount of buttons on to your satisfaction cut your wire to were only about 1 1/2" is sticking up on each side. Take you needle nose pliers and roll the wire down.


Add a jump ring to each side you rolled down also attaching a 4 1/2" piece of chain to each side.

Attach a jump ring to your ends along with your closure. You could use a toggle set or an adjustable one. I used the adjustable.

Take your craft glue and glue down the wire you rolled down earlier. I like to give it overnight to sit.


No comments:
Post a Comment