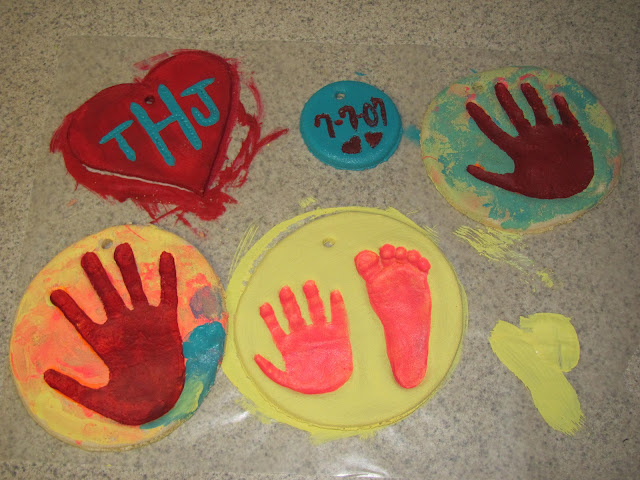
The other day I had a friend make some of these for her kids and I thought it was so cute! Of course I had to share how to do them!
You Will Need:
* 1 cup of flour
* 1 cup of salt
* 1/2 cup of water
Here are some that we made!
My Sweet Ella's Ornament!
Yeah, that's yellow and pink but the picture looks orange. hmmm
My sweet Brenna's ornament!
My sweet Emma's ornament!
So, these cute little ornaments are really easy to do! Just knead the ingredients listed above in a bowl until it's about the consistency of play dough.
Roll out your dough on a piece of wax paper. Make the dough around 1/4" thick.
Make your designs. Cookie cutters would come in really handy! Wouldn't you know I couldn't find any, so I used bowls to make a circle outline for ours.
Place your cut outs on a baking sheet lined with wax paper.
Take a straw and make holes for the ribbon to be tied through.
Bake at 200° for about 2 hours or until hard.
The smallest one we made was done in about an hour but the larger ones took about two hours.
After they are all done and cooled off... Time for the fun part, PAINT!
I let the girls paint them however they wanted, let them dry, then went over their hand print with red paint so they could be seen.
Those other two are mine. Not the best but it was fun! I need to invest in some paint pens for projects like this!
My girls HAD to have glitter, so I had some of this spray glitter in my craft stash.
After the paint dried, we sprayed the ornaments with glitter twice and then sealed them using the Mod Podge clear acrylic sealer.
Just for fun, here are the ones I done. Next time, I'm getting cookie cutters and paint pens! Hehe
Just in case you're wondering... yep, that special date is the day we were married!
Happy Memory Making!


No comments:
Post a Comment